Boots, your best friend
Your hiking boots can be your best friend (or your worst enemy).
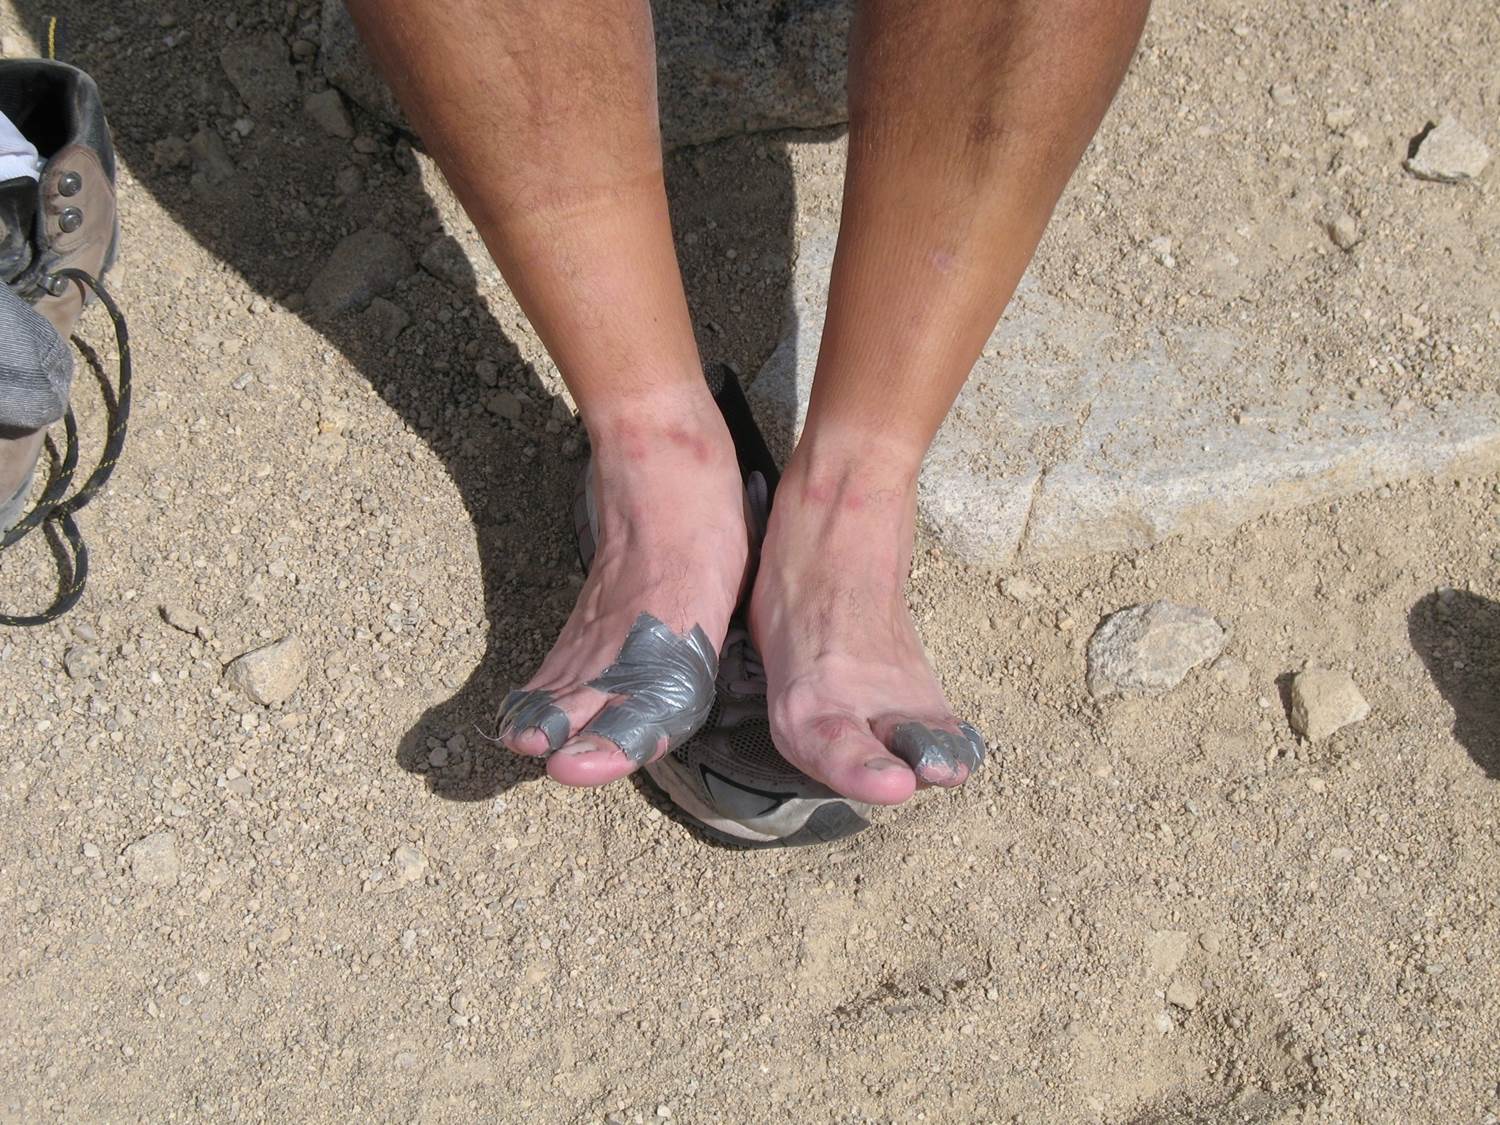
Above is a picture of what could happen when you don’t break in your boots. Looks pretty bad, right? It can also be worse. Just ask my mom. She did the week long trans-Sierra Mt. Whitney trek with Mike when she was about 40, and made the decision to go on the hike only 24 hours before she hit the trail. She made made the last-minute call to go with my brother Denver (who was only 10 at the time) after I got injured only a day before the trip. What did she do to prepare? The night before departure, she bought a brand new pair of hiking boots. While she made it through the trek (she is incredibly tough!), her feet made the last few days an almost unbearable experience. And she found herself on crutches for the next few weeks… it was incredibly bad.
You don’t need to suffer. With a little advanced planning, you can turn your boots into your best friend on the trail.
Getting started
For novice hikers, it’s very important to buy your boots in advance and break them in.
When selecting gear, I recommend going to a reputable gear store with knowledgeable clerks. Go armed with a little knowledge. Here are a few rules of thumb and general guidelines to consider when selecting boots as you prep for your trek.
There a number of good boot makers out there, but some reliable brands we’ve used in the past include Vasque, Asolo
, Merrel
and Hi-tec
. We recommend buying your boots at the end of the day when your feet are the biggest. Try them on with a pair of medium weight wool socks, or whatever socks you will be hiking in, and leave yourself enough space in the back of the boot to slide your finger down the back. Your feet will need a little extra wiggle room to adjust/expand when on the trail. Buy your boots well in advance of your trek and wear them often to break them in.
Don’t forget the moleskin
No matter how well you break in your boots before the trek, there is a good chance that you will encounter blisters at some point along the trail.
Moleskin is a soft, tough adhesive used to pad existing or potential blisters. If you start feeling hot spots or early irritation on your feet, you can use moleskin to try and keep those spots from getting worse. Use a knife or pair of scissors and cut out a piece of moleskin slightly larger than the area you wish to cover. Cut in a circle or oval shape so that edges are less likely to snag and dislodge the adhesive while in your boot. There is divergence of opinion out there, but we recommend leaving the moleskin on once applying it (as opposed to airing it out at night). Removing the moleskin runs the risk of opening the blister, which may only make things worse.
If you’re having a hard time keeping the moleskin on and things seem to be getting worse, you might try applying duct tape on top of the moleskin to keep it in place.
Make the most of your resources on the trail
When you get to camp, soak your feet in the cool streams – this would be the equivalent of applying ice. If the boots become unbearable, consider carefully hiking in your camp shoes.
In the end, the goal is to be comfortable and safe on the trail, so personal preference and comfort should drive a lot of the decision making. If you’re older, or less sure of your step, you might prefer something with more ankle support. If you’re younger, or focused on light weight, a lighter cross-trainer might work just fine.
Either way, buy them early, and break them in! Make them your best friend!